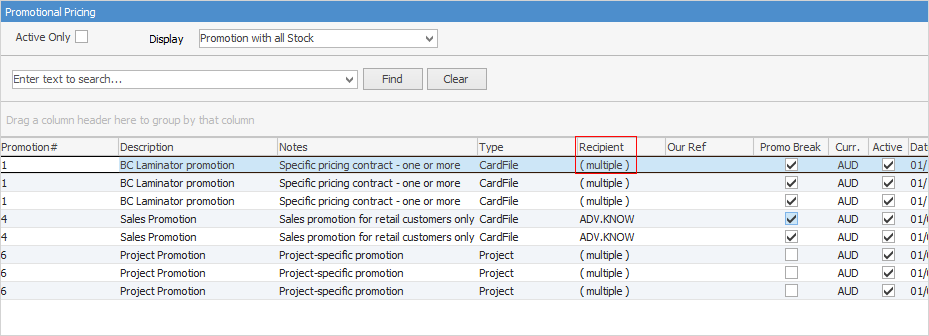
The tabs within the footer of a CardFile form allow access to the following relevant information for that particular cardfile.
 |
Only essential tabs will be displayed in each cardfile. For instance, a cardfile set up only as a customer will not show the Vendor or User tabs. Information stored on cardfiles may be sensitive, and access to this information can be controlled by security settings. |
For information on the extra fields under the various tabs at the bottom of the form, please go to:
Tab |
Function |
||||||||||||||||||||||||||||||||||||
|---|---|---|---|---|---|---|---|---|---|---|---|---|---|---|---|---|---|---|---|---|---|---|---|---|---|---|---|---|---|---|---|---|---|---|---|---|---|
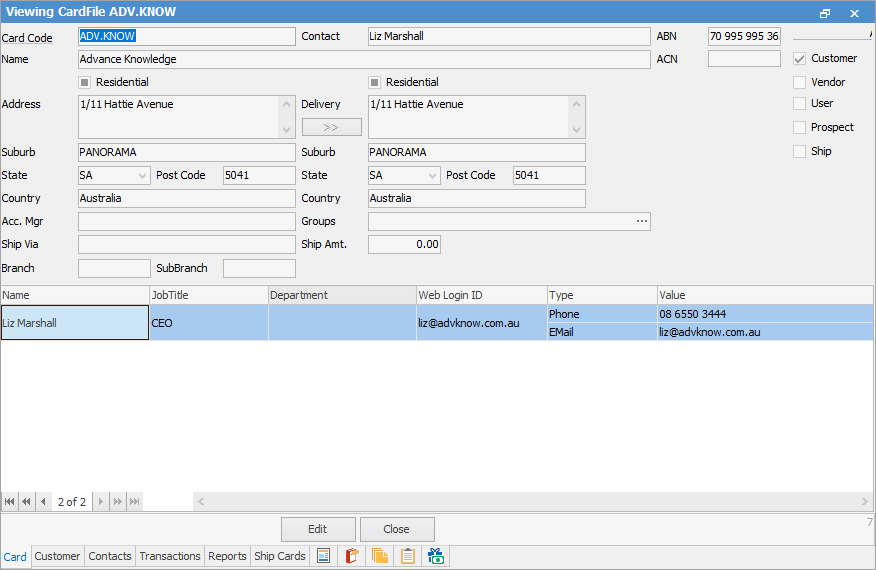
This tab will bring up the card where all the cardfile details are listed, including name, address and contacts of this cardfile. When viewing any cardfile, this is the active tab.
 |
|||||||||||||||||||||||||||||||||||||
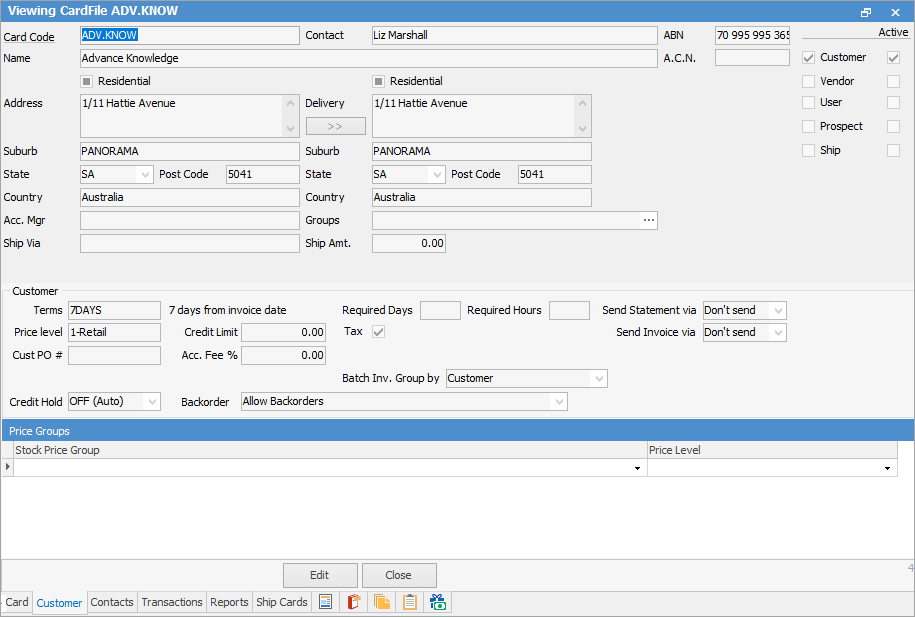
This tab will only be available if Customer is ticked and will display the customer information for that cardfile. This is the area where the terms, credit limit, back order preferences, etc. are recorded for that customer. See Add Customer Details for more information.
 |
|||||||||||||||||||||||||||||||||||||
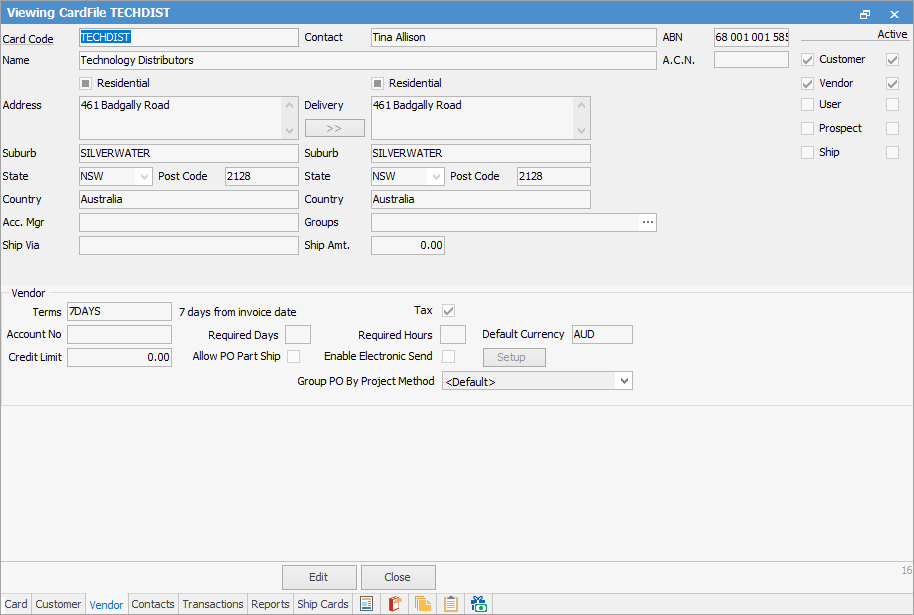
This tab will only be available if Vendor is ticked and will display the vendor information for that cardfile. This is the area where the terms, credit limit etc. are recorded for that vendor. See Add Vendor Details for more information.
 |
|||||||||||||||||||||||||||||||||||||
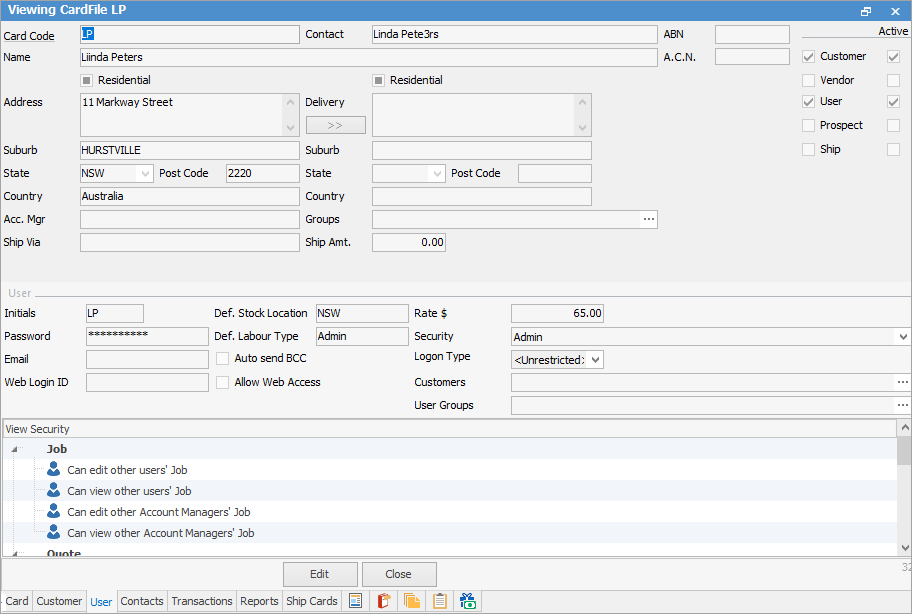
This tab will only be available if User is ticked and will display the user (employee) information for that cardfile. This is the area where details for that user are recorded. In addition to normal contact information, the user is identified to the Jim2 system as having a user logon ID and password, stock location for purchasing and selling, a particular type of labour which can be applied to jobs, and a security group. Various stock locations and labour types will have been entered in the Setup defaults and Security Groups first. See Add/Update User for more information.
 |
|||||||||||||||||||||||||||||||||||||
This tab will display the information for the contact that is highlighted on the Card tab of the cardfile. This is the area where users record and keep track of contacts they have for that customer, and record the phone numbers, email addresses, mobile numbers, etc. of those contacts.
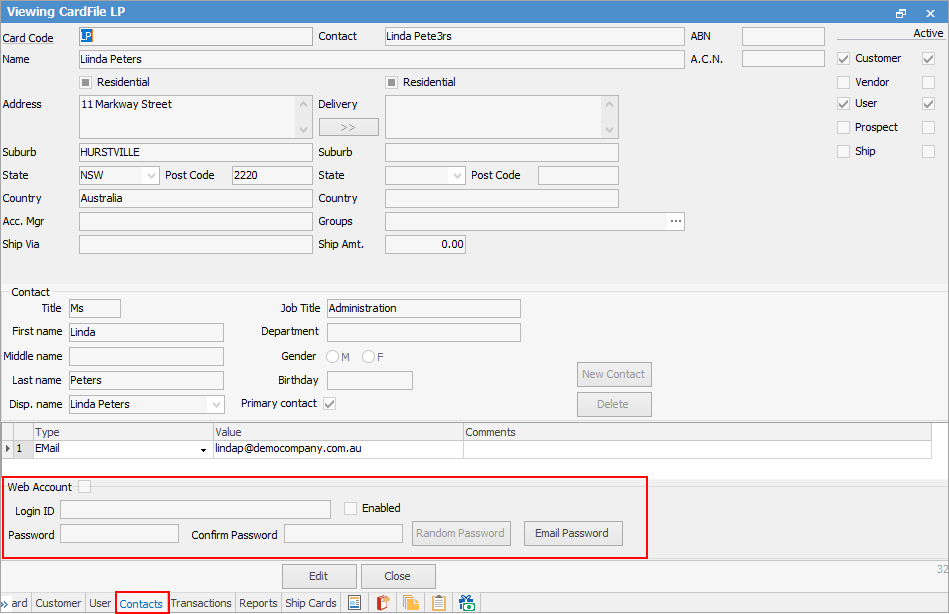
Cardfile Contacts allows enabling and managing of web accounts, ie. allowing a contact to log on to Jim2 web framework including eBusiness Service and eBusiness Meter Reads.

Ticking Web Account will enable a contact’s web account. The web Login ID will default to the contact’s email address and a random web password will be generated. Clicking Email Password will generate and send an email to the contact with their web logon details.
Clicking Random Password will generate a new random web logon password. The new web logon details can then be sent to the contact by clicking Email Password. |
|||||||||||||||||||||||||||||||||||||
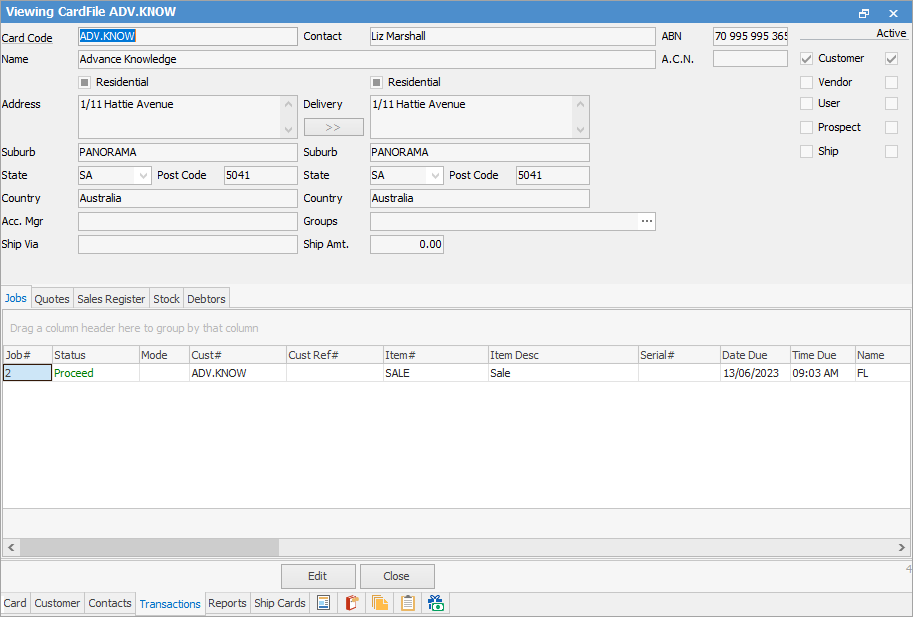
This tab will display all current activities, such as jobs, quotes, invoices, stock, sales register, debtor information and any recent transactions that have occurred in the past 90 days. These activities are grouped under their respective tabs, located above this bottom pane (Jobs, Quotes, etc.). More transactions can be displayed under these various tabs by right clicking in the results pane and choosing Show All (except the Debtors screen, where only outstanding issues will be shown, ie. unallocated payments, invoices unpaid, etc.) from the drop down options. Show All will show all activity from the very beginning.
 |
|||||||||||||||||||||||||||||||||||||
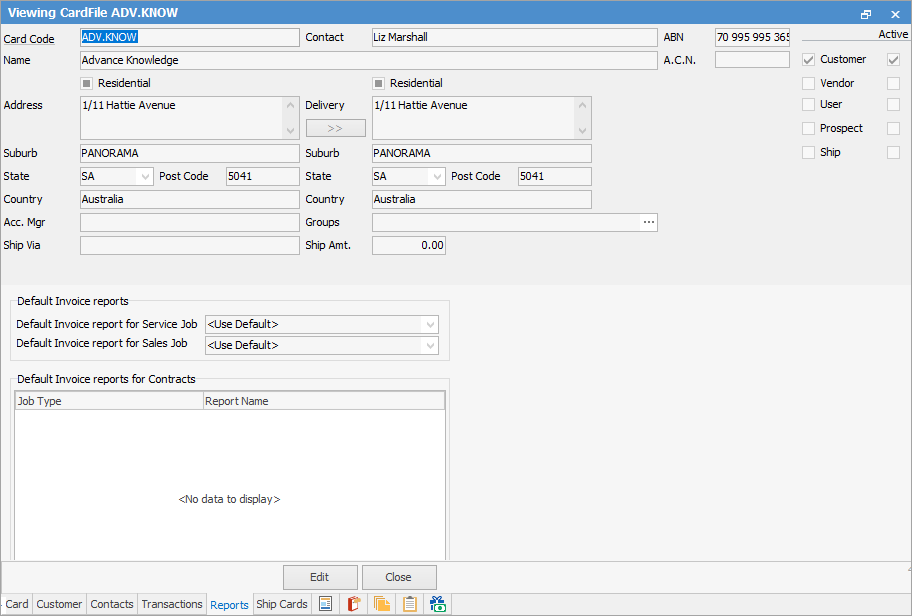
This tab allows the invoice reports for service job, sales job and projects (if the company is licensed to use Projects) to be used for this particular cardfile (if different to the default reports set up in Options).
 |
|||||||||||||||||||||||||||||||||||||
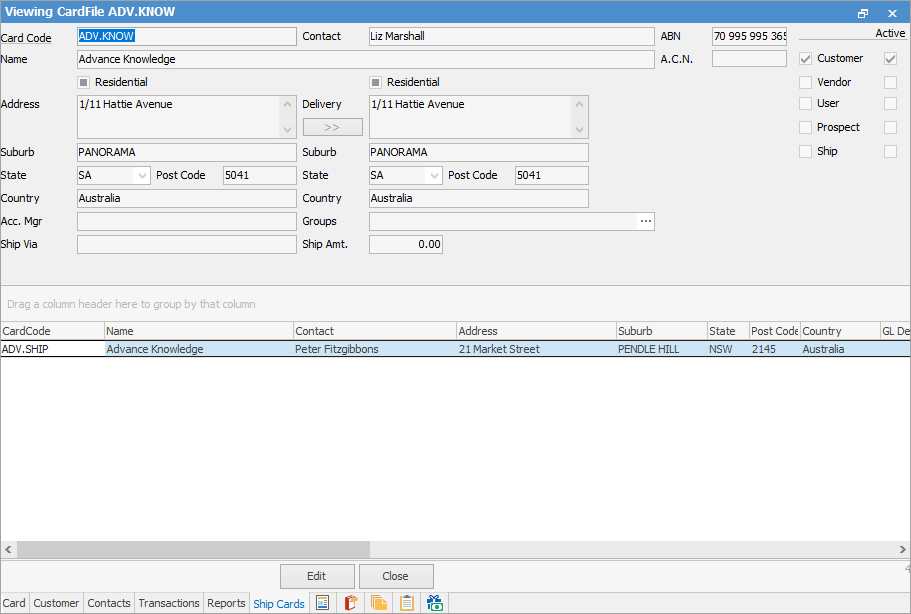
Ship Cards tab displays all related shipping cardfiles (and contact details) to this cardfile. This table can be filtered and sorted. Double click (or right click) to view and/or edit the related ship cardfile.
 |
|||||||||||||||||||||||||||||||||||||
This tab displays any documents attached to this cardfile, eg. a copy of a supplier's terms and conditions. |
|||||||||||||||||||||||||||||||||||||
This tab will display all watchouts related to this cardfile and allows addition of new watchouts. |
|||||||||||||||||||||||||||||||||||||
This tab will display all notes related to the cardfile, including the contact that the note is related to. New notes can be added here. |
|||||||||||||||||||||||||||||||||||||
This tab will display all tasks (appointments, phone calls, to do's, etc.), related to this cardfile, as well as allowing adding new tasks.
Tasks can only be utilised if Scheduling is licensed. If not, the following warning will appear:
 |
|||||||||||||||||||||||||||||||||||||
If this customer is part of promotional pricing, this tab will show which promotions are related. Unticking Active Only, will show all promotions, including those that are finished.

Narrow the information down by choosing either to Display Promotion or Promotion with all Stock.
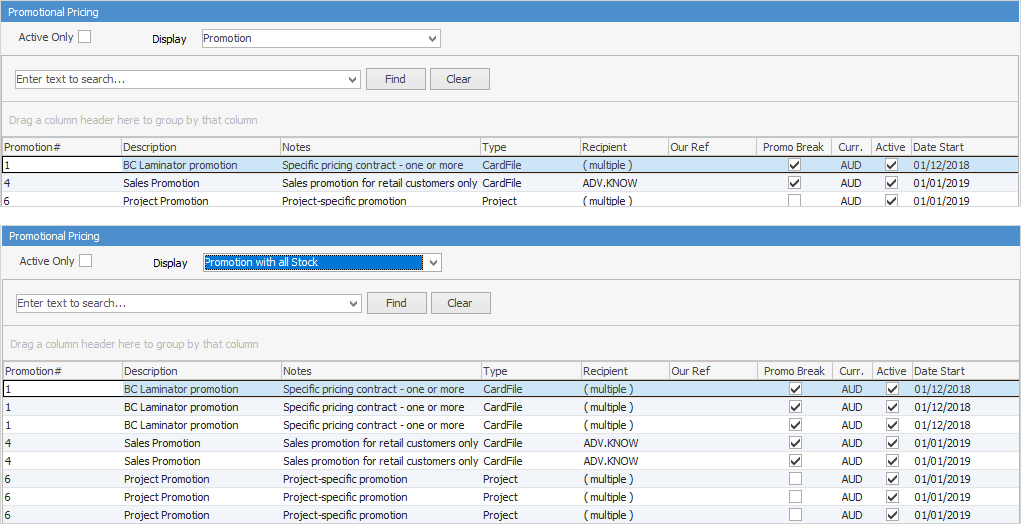 Not all fields are showing in these images
The number on the right side of the icon denotes the number of active promotions applicable to this cardfile.

|
|||||||||||||||||||||||||||||||||||||
The user has the option of changing the location or labour default type when editing an individual purchase order or job record. This will not change the default location or labour type for that user.
|
The cardfile for sys (the system administrator) will default to the security group of Administrator, which cannot be changed. This is to ensure that if security is accidentally placed on security itself, log on as sys (system administrator) in order to rectify the problem. Due to the unrestricted access that the Administrator security group allows, change the password for the user sys, as the default password is widely known. |
Further information
