Show/Hide Toolbars

Jim2® Business Engine Help File

Navigation: Managed Print Services Edition

Create a Machine Contract

Scroll Prev Top Next More
add machine icon

1.Create your new machine contract, entering your starting balances if applicable, and save the contract.

Info

There are two types of flags within the machine setup (Tools > Setups):

1.System: the system tick box indicates that this is a hard coded project type, and users cannot remove/amend.

machine setup option

2.Show Overview: this tick box enables the Overview tab on the project. The Overview tab provides data on linked jobs and quotes.

overview

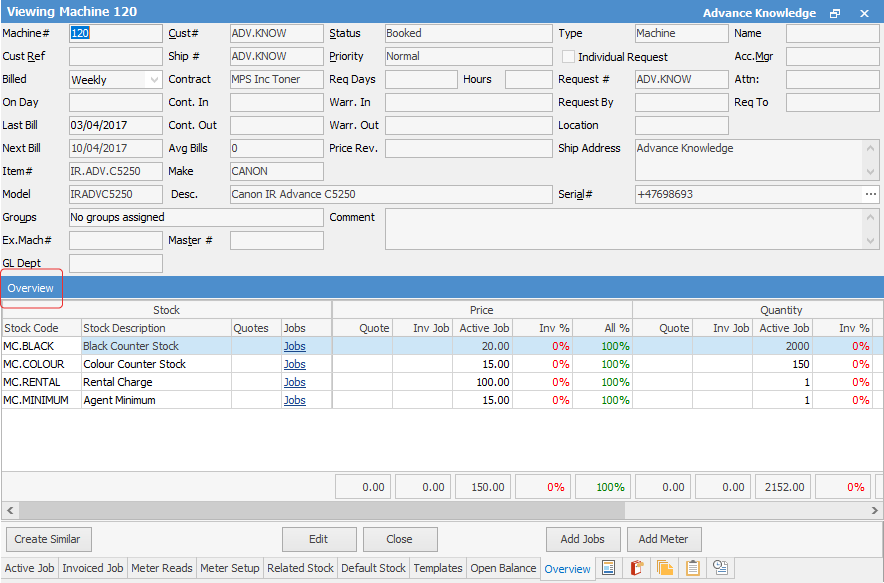
To add more stock to the template, select Change Template, then go to the stock code field, select the ellipsis [...] and select stock to add.

add stock to template

Tip

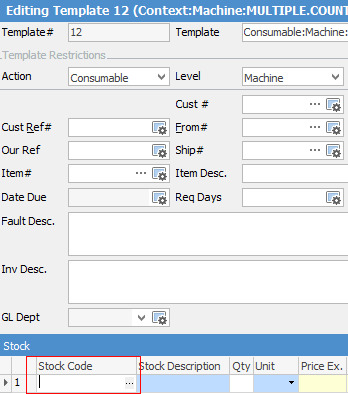
You will see some letters underlined in the field names within the header, eg. Cust#. Using Alt+ the underlined letter will jump you to the field beside that heading.

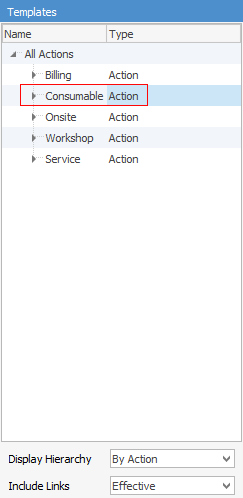
2.On the machine, select the Templates tab, and you will see three default templates have been assigned for use in the creation of consumable, onsite and workshop jobs.

machine template tab

In each case you have the option to leave the template associated to the action as is, or change the association to a new template. In this example, we will change the consumable template to use a newly created shared template that is used where a default freight charge is to be applied.

Select the Consumable Action on the left hand side:

select temp action

Info

If you don't see the correct templates here, you will need to create them first.

3.Click Edit, then Action Wizard.

edit action wizard

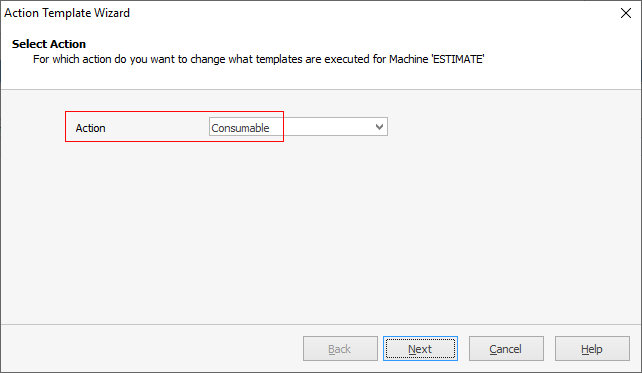
4.The Select Action screen is displayed. Select the Consumable action and then click Next.

MPS Action1

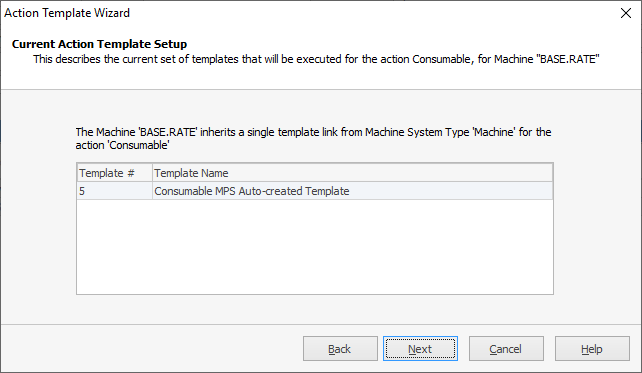
5.The Current Action Template Setup screen is displayed, showing you the existing consumable template. Click Next to continue.

MPS Action2

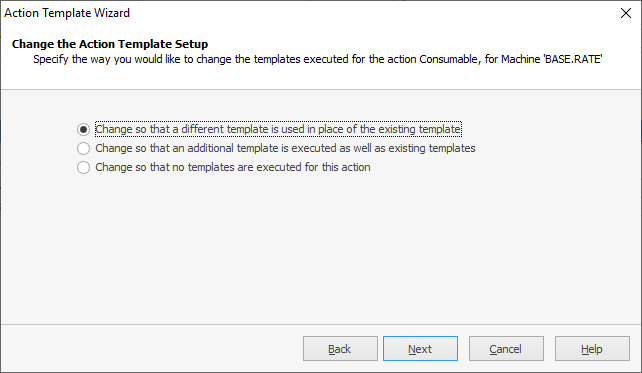
6.The Change the Action Template Setup screen is displayed. Select the appropriate option, which in this case is to Change so that a different template is used in place of the existing template, then click Next to continue.

MPS Action3

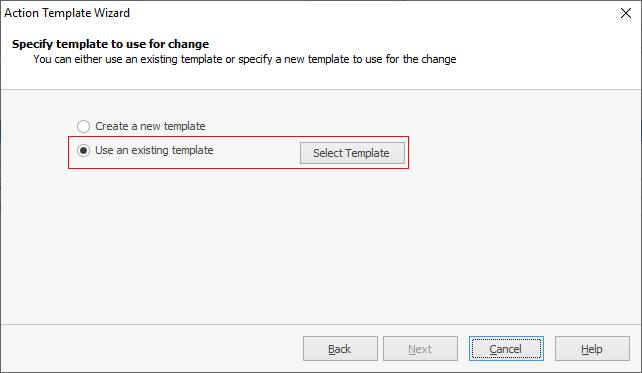
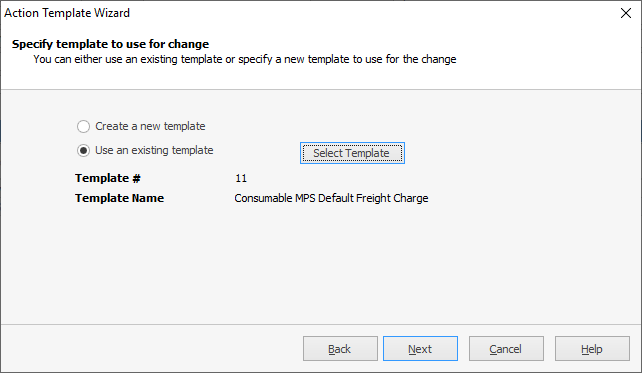
7.The Specify template to use for change screen is displayed. Select to Use an existing template, then click Select Template.

MPS Action4

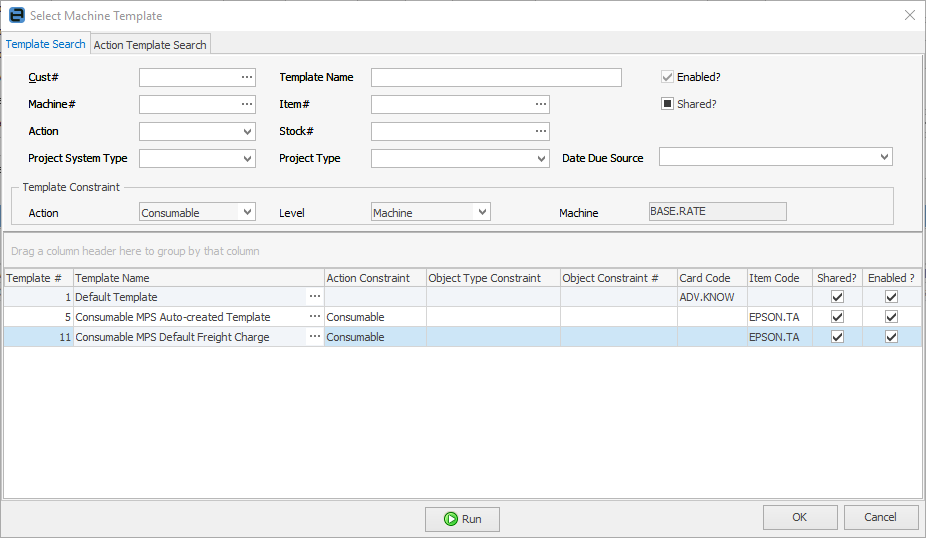
8.The Select Machine Template screen is now displayed, where you can select the Consumable MPS – Default Freight Charge Template. Select this, then click OK.

select machine template

9.The Specify template to use for change screens is displayed to confirm your choice. Click Next to continue.

specify mps template

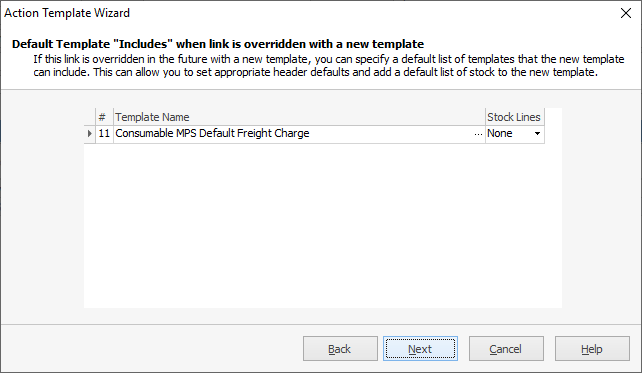
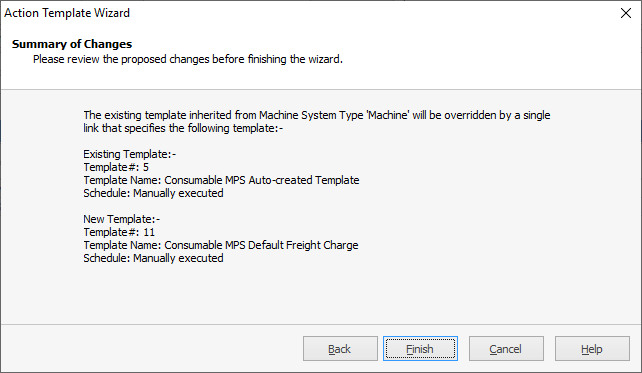
The following will be displayed:

mps change confirm

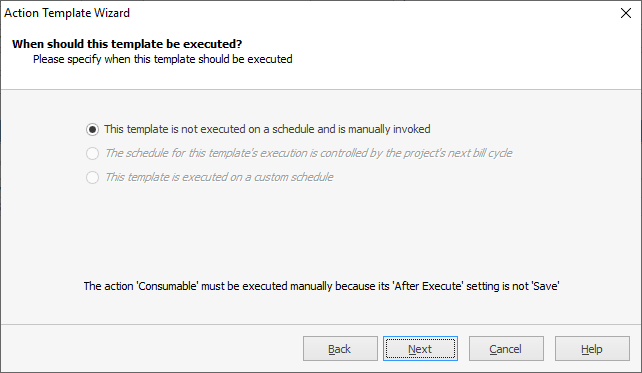
10.The When should the template be executed screen is displayed. Select the first option, which is used for manually executed templates, then click Next to continue.

when execute template

11.The Summary of Changes windows is displayed, which confirms the changes that are about to be made, click Finish.

summary of changes

warning1

IMPORTANTClick Save on the machine to complete the changes.

contract save


You will now see the new consumable template has been associated to this machine and the task is complete.


Mach template freight change


Further information:

Managed Print Services Edition

Overview

Setup

Machine Footer

Machine Header

Machine Lists

Machine Reports

Meter Overview

Meter Reading Options

Operation

3 Tier Colour Coverage Billing

3 Tier Colour Coverage Reads Billed with Total Colour Rate

3 Tier Colour Coverage Reads Min Volume on Colour Total

Add Manual Meter Readings

Add or Remove a Child from a Master

Advanced Meter Examples

Base Charge and Minimum

Base Charge and Base Rate

Bill a Master Machine

Billing Exact Amount Using a Balancing Meter

Billing Using Prepaid Blocks

Billing Using Expiring Prepaid Blocks

Black A3 and Black A4 Meter with Minimum Volume Over the Two Meters

Black A3 and Separate A4 Meter


Clawback Meters

Create a Non Billing Template

Estimate Meter Reads

Fix Incorrect Meter Read

Machine Serviced by 3rd Party

Machine Serviced by 3rd Party with Base Charge

Machine Serviced by 3rd Party with Minimum Charge

Machine Serviced by 3rd Party with Minimum Volume Charge

Machine with Total Meter

Manage Invoicing Multiple Masters

Minimum Dollar Amount

Minimum Dollar Amount for Black Only

Minimum Volume for Black

PMP Plan Meter Setup

Prepaid Pages

Produce a Summary Invoice

Recommended Reports

Refurbish Machines Using Special Stock and Sales Kit

Refurbish Machines Using Special Stock and Manufacturing

Refurbish Photocopier Parts

Replace a Machine Part

Service and Finance Split Billed as Single Amount

Set up a Master Machine

Set up and Use Text Email Request


Set up and Use Web Meter Reads

Set up Consumable Coverage on 3 Tier Billing Stock

Set up Machine with Price Break Point

Set up Master with Average Billing

Set up Master with Clawback All Unders at Current Rate

Set up Master with Clawback all Unders at Historical Rate

Set up Master with Clawback All Unders Overs at Current Rate

Set up Master with Clawback Open Unders and Overs at Current Rate

Set up Master with Clawback Open Unders at Current Rate

Set up Master with Meters with Different Periodicities

Set up Master with Multiple Black with A3 and A4 Meter and Min Volume

Set up Master with Multiple Child Machines

Set up Master with Multiple Children and Minimum Volume

Set up Master with Multiple Children with Different Black Rate

Set up Master or Standalone with Free Pages

Set up Master or Standalone with Prepaid Pages

Set up QR Code

Simple Meter Examples

Skip Billing

Split Billing 2nd Party

Split Meter Setups

Terminate a Contract

Unders and Overs Meter Setup