1.First, add the images to Jim2 Documents. When adding, select the correct Usage.
|
The images must be correctly sized, ie. 16x16, 32x32 or 128x128 pixels. |

 |
Some letters in the field names within the header are underlined, eg. Name. Using Alt+ the underlined letter will jump to the field beside that heading. |
2.Open the stock record to add the image to. Click Edit, and go to the Documents tab at the bottom of the screen, then click Link Existing. This will bring up the Document Select screen where you can choose the image to use. Navigate to the Document folder where the image resides, then click Run.
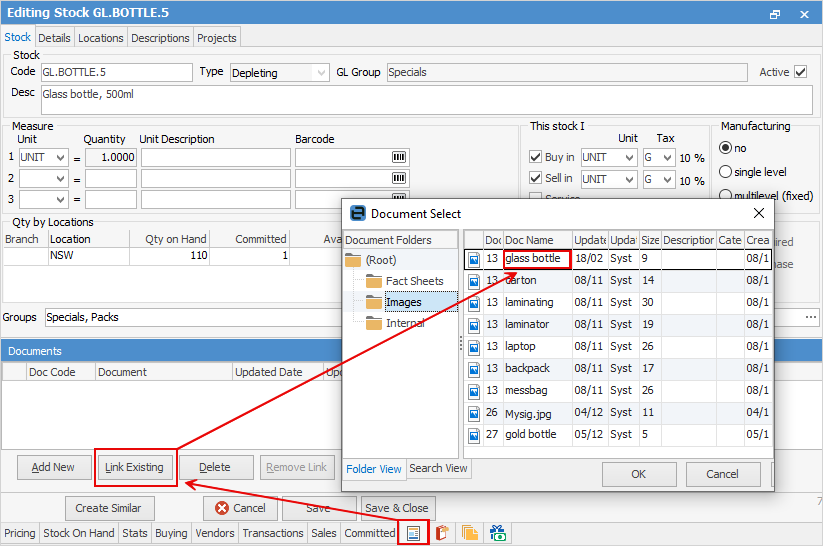
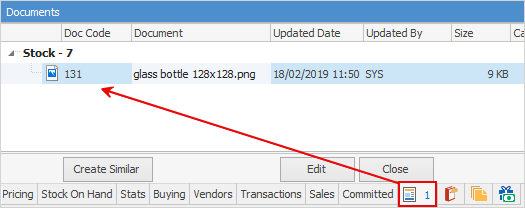
Select the image, then click OK. The image will now be seen within the Documents section of the stock.
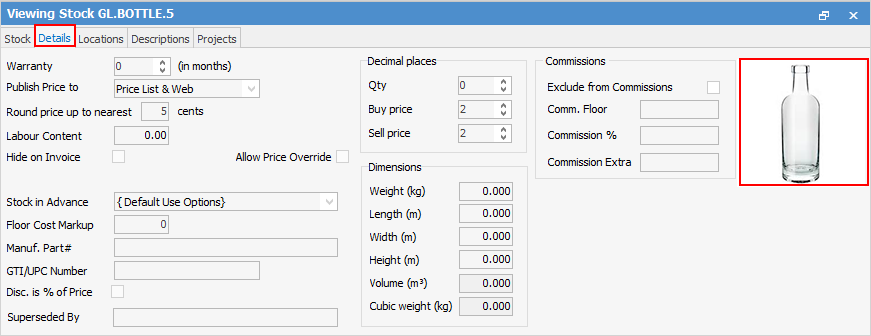
3.Click Save. On the ribbon, go to the Details tab at the top of the Stock screen, and the image will appear in the top right hand corner.
Further information
Backfill Stock Sold in Advance
Buy and Sell in Different Measures
Change a Serial Number on a Stock Record
Export a Stock Report to Spreadsheet
Generate Backdated Stock on Hand Report
Move Stock from Depleting to Asset
Stop Users From Giving Discounts
Update Existing Vendor Pricing