This section of the Purchase Order form contains a grid used to record any stock that will be purchased from the vendor. The stock grid contains a number of different fields, which can vary slightly depending on the type of stock being purchased.
The stock grid area can be expanded by clicking and dragging the horizontal dots up and down. Double clicking the dots will hide the stock grid completely. Double click again to show.
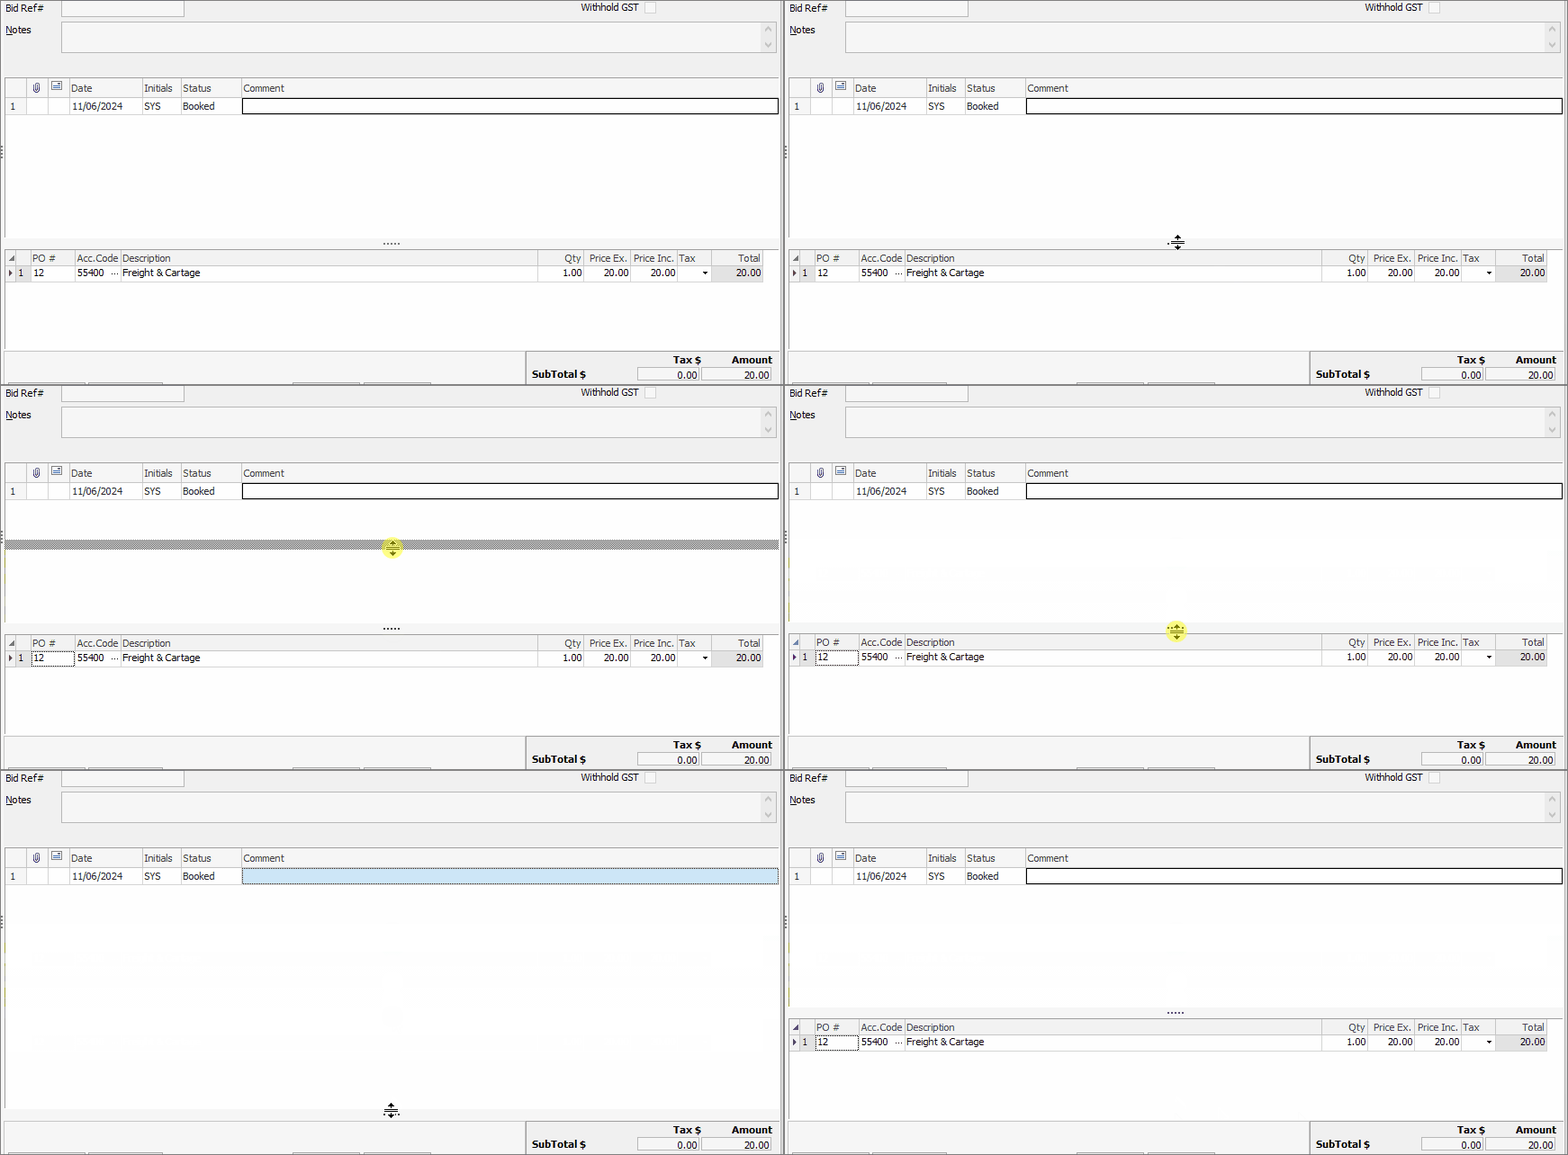
Whilst this shows an expense order, the process is the same for all objects
Within this grid is displayed information about the cost of the goods, the tax free and tax paid price of the goods, the tax code and total of the stock.

The column showing Job# has two meanings:
1.This is automatically populated by a job when it creates a back order.
2.Entering a current job number into the stock grid will automatically add a stock line within the job for that particular stock.
|
Some fields are only active in Edit mode. You can click the right facing arrow at left of the headings and this will show/hide extra columns:
 |
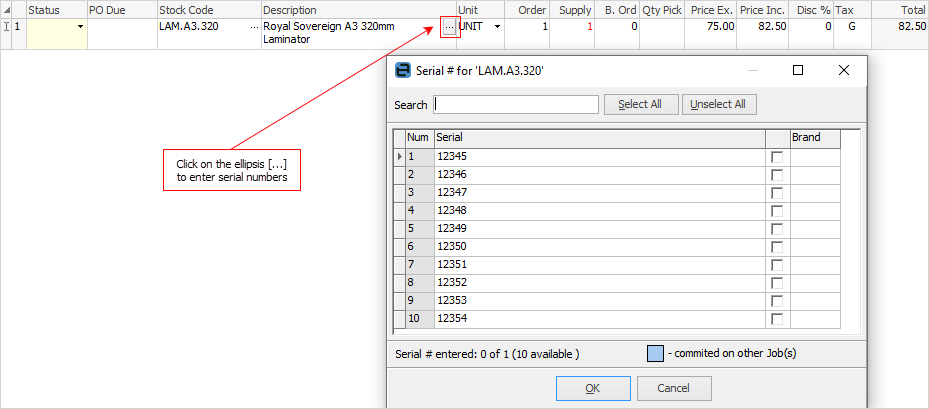
If stock is entered which has serial numbers on purchase in that stock record, these need to be entered before finishing the purchase order. The serial numbers entered here will be recorded within the stock record in Jim2 for use when selling that stock in a job. Once the stock is received, the serial number details must be entered before finishing the purchase order.
To enter serial numbers, select the ellipsis [...] within the Description field.

This will open the Serial# entry form where record the serial numbers of the received stock, or create other numbers. Serial numbers are limited to 50 characters.
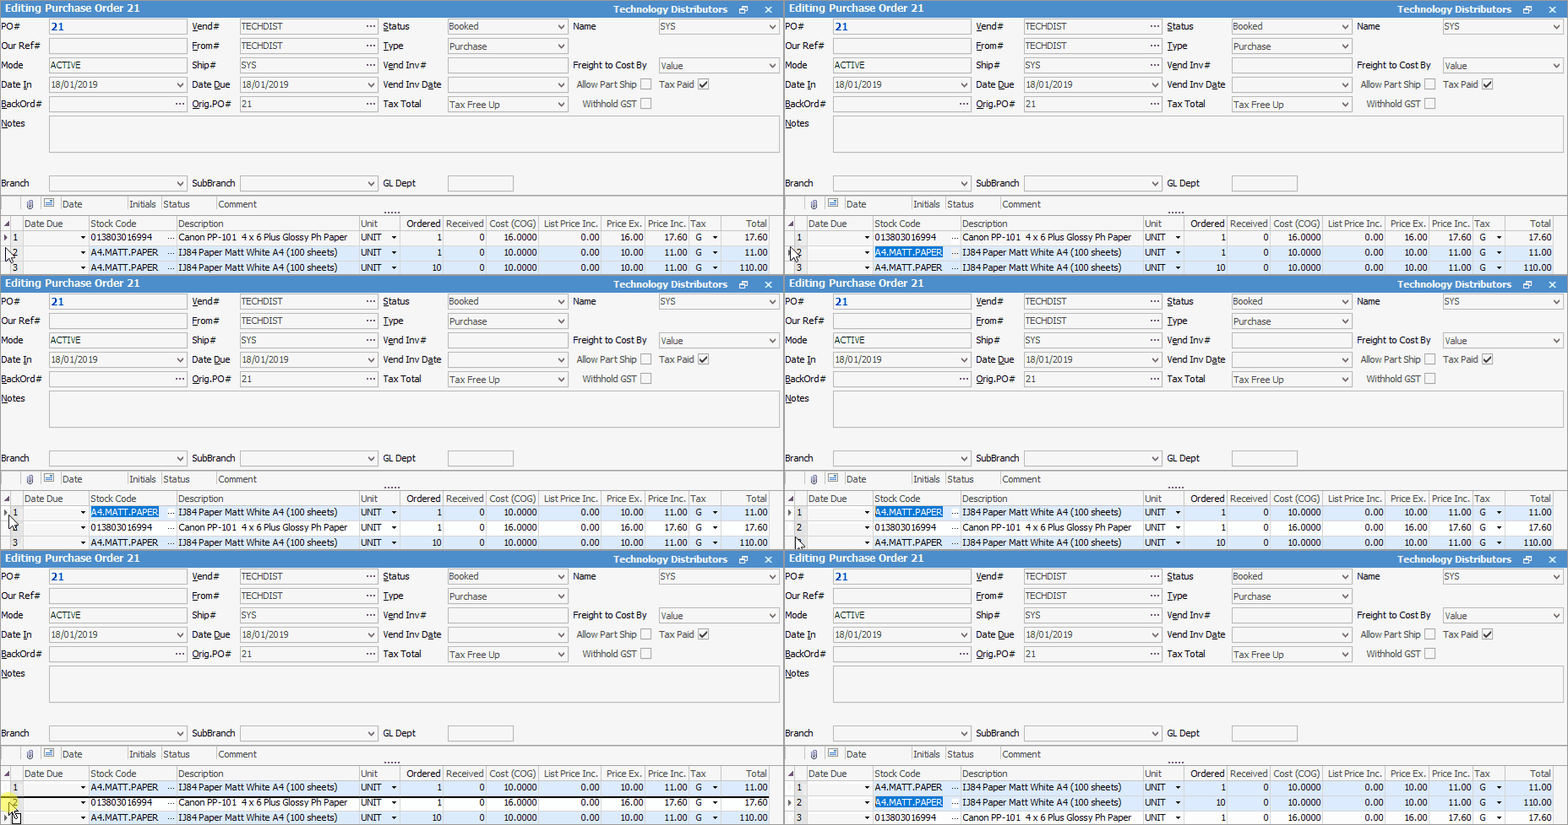
The stock lines can be rearranged within the grid:
|
If the job is finished with missing serial numbers, a prompt will appear asking to back order those without serial numbers. For example, order 5 but only 3 serial numbers are entered. Jim2 will offer to back order the rest. ▪Click No and finish the job and Jim2 will only supply and invoice 3. ▪Click Yes and Jim2 will offer to create a new job for the two on back order and will only supply and invoice 3.
Either way, Jim will only dispatch/invoice the stock that has a serial number selected. |
The fields within the stock grid are described below:
Field |
Explanation |
||
|---|---|---|---|
Date |
The date that the stock line was added to the purchase order. |
||
Initials |
The initials of the user who added the stock. |
||
By default, this value will be empty, in which case the purchase order due date is as per the due date on the Purchase Order header. To set the due date for a specific line of stock, edit the purchase order and set the expected delivery date in the Due Date column.
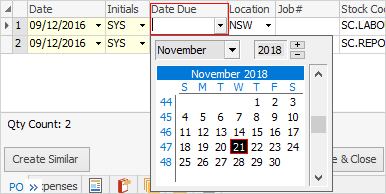
PO due dates can be updated automatically via custom scripts, in the case where the vendor provides this information on a regular basis. Please contact support@happen.biz for more information on custom scripting to provide this automation. |
|||
Location |
The location of the stock when purchased. |
||
Job# |
When entering a job number in this field, the background of the stock line within the purchase order will show in a pale blue colour and the stock line will be automatically added to the job upon saving. This number will autopopulate when a back order PO is auto created from a job.
A job with a minus symbol (-) in front indicates that that the PO has since been unlinked. |
||
Stock code |
The stock code will identify the product or service being ordered. Choices can be made from the Stock Select form via the drop down list beside this field. |
||
Description |
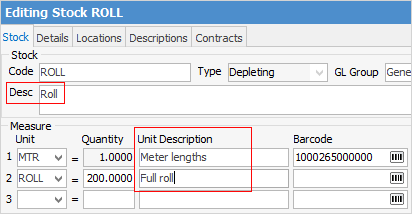
The description of the stock from the stock record is automatically placed in this field. If there are multiple measures for this stock, it will use the description appropriate for that measure.
 |
||
Vendor Stock Code |
This field will be populated from the Vendors tab of the stock code, if entered. |
||
Unit |
Use the drop down list to choose the unit measure required to purchase that stock in, eg. Unit, Pack, Box, etc. |
||
Ordered |
The quantity ordered. |
||
Received |
The quantity received from the vendor.
|
||
Weight |
The weight of each unit, if entered on the stock code. |
||
Cost (COG) |
This is the cost of the goods and will include any freight and/or expenses added. |
||
List Price Ex |
This is the list price of the goods excluding tax. |
||
Price Ex |
This is the price of the goods excluding tax. |
||
Price Inc |
This is the price of the goods including tax (the tax code as set up within the stock record). |
||
Tax |
The tax code to be used for this purchase. |
||
Total |
The total amount of that stock line (Qty Ordered X Price Inc). |
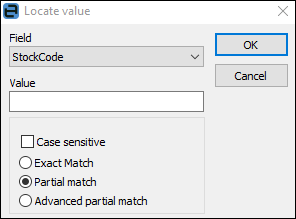
Within the stock grid, search all columns and rows by selecting Ctrl+S. This will bring up the Locate value screen, where select which field to search and enter text to search for in the Value field
Purchase stock grid price background colours
Purchase order stock grid colours are the same as job stock grid colours.
 |
Note: The yellow background in Status indicates there are choices to be made there. |
 |
Hover over the coloured fields and Jim2 will pop up an explanation of the colour meaning. |
Price columns
Colour |
Explanation |
|---|---|
White |
Price level is being used (ie. Price Level 1). |
Lilac |
Contract price level. |
Green |
Customer-specific price level. |
Yellow |
Manual/overridden price level. |
Mustard |
Promotional pricing level. |
Orange |
Minimum sale price level. |
Blue |
This is a kit. |
Pale Blue |
Linked to a purchase order. See Stock Code below – can also be background for special stock. |
Red |
Stock is back ordered. |
Pink |
Different price level to that selected in the header. |
Dark Pink |
Sell price is based on the Contract (Project) Price Level. |
Light Grey |
If stock is reserved at a line level, the line will turn light grey. If the whole job is reserved, the entire stock grid will turn light grey. |
Total $ Amount in Footer of Purchase
The total in the footer will show the actual total based on quantity supplied. Click Total and it will change to green, which will change the total amount to match the quantity ordered.
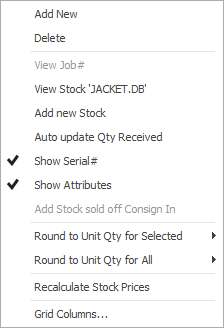
The following features appear when right clicking on any row of the stock grid.
Dropdown Option |
Explanation |
|---|---|
Add new |
Adds a new row to the stock grid. |
Delete |
Deletes the current line, including any stock that has been added to the purchase. |
View Job# |
Opens the job for which this particular stock was ordered (if applicable). |
View Stock |
Will open to that particular stock form. |
Add new Stock |
Opens a new Adding Stock form for adding new stock on the fly. |
Auto Update Qty Received |
Updates the quantity received to match the quantity ordered. |
Show Serial# |
Displays or hides the serial numbers for that stock line (if applicable). |
Show Attributes |
Displays or hides the attributes for that stock line (if applicable). |
Add Stock sold off Consign In |
All stock sold on Consign. In for that vendor will automatically add to the purchase order. |
Round to Unit Qty for Selected |
Round up units on the selected line. |
Round to Unit Qty for All |
Round up units on all lines. |
Recalculate Stock Prices |
Restores any manually overridden stock prices to default values. |
Grid Columns...
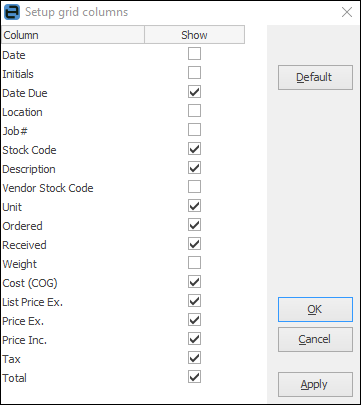 |
This sets up the grid columns that will be displayed for this user or for all users. In expanded view, all grid columns are displayed by default.
In collapsed view, the following columns are not shown: ▪Date ▪Initials ▪Location ▪Job# ▪Vendor Stock Code ▪Weight.
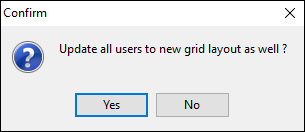
Add or remove grid columns by ticking the box, then selecting Apply. Once OK is selected, a confirm message will appear asking if all users should be updated to the new layout as well.
Upon saving, all columns will be shown. Click on the arrow at top left of the grid in either Edit or View mode to view only the columns required.
 |
Further information
Purchase/Expense Order Footer Tabs
Purchase Order Approval Process
Opening Balance Purchase Order
Add an Amount to a PO when Finished at $0
Add Comments to a Purchase/Expense Order
Add Freight to a Purchase Order
Fix Incorrect Pricing after PO Finished
Handle Employee Reimbursements
Handle a Credit for Freight Charged
Link a Job to a Purchase Order
Link Expenses to a Purchase Order
Print a Purchase/Expense Order
Progress Payments on Purchase Orders
Record One Invoice Number on Multiple POs
Record Overseas Purchases, GST, Import Costs
