Creating a Job List allows users to narrow down their search. The Job List has two primary functions within Jim2:
▪to help users find specific jobs (if they aren't sure of the job number)
▪to provide a method of filtering and sorting jobs, and providing a count (for an overall view of work in progress).
The Job List function allows users to search using all the fields available from the job form, combined with date ranges (before, between, after this date, month, year), some purchase, stock and cardfile criteria, and active and/or archived records. All in all, it is a very powerful and easy-to-use tool.
The search result (Job List) is displayed and users can choose to view/edit a job by double clicking on the Job# in the list or drag and drop column headers in the Job List to group results by the contents of that column.
1.On the ribbon, go to Jobs > Create Job List, or right click Jobs in the Nav Tree and select Create Job List.

|
Note: If the Create Job List icon is greyed out there are two reasons for this: 1.Jim2 only allows 25 lists per object. If there are already 25 lists in the Nav Tree, a list will need to be closed to allow creation of a new list. 2.The user's security does not allow them to create the list. |
 |
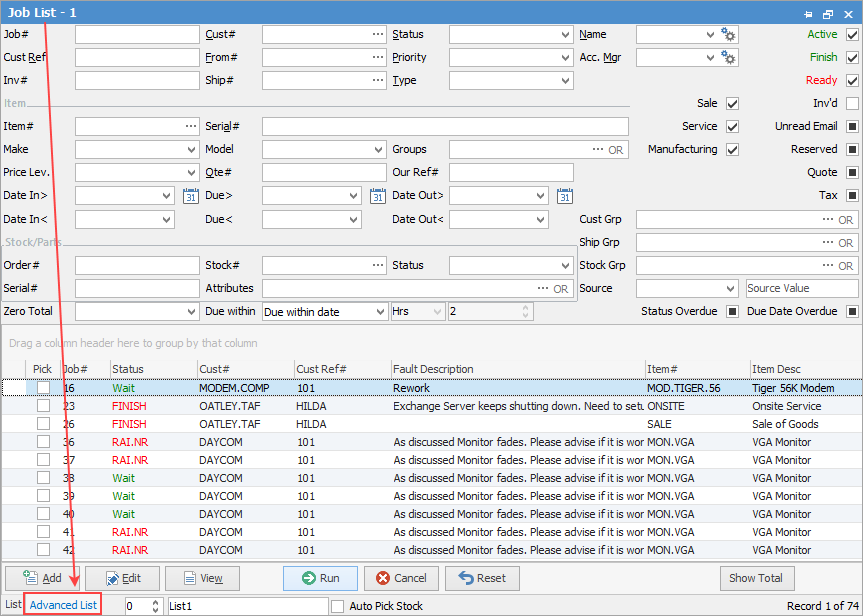
Some letters in the field names within the header are underlined, eg. Cust#. Using Alt+ the underlined letter will jump to the field beside that heading. |
2.Any combination of the fields can be used in the List or Advanced List tab (bottom left of screen) as search criteria.
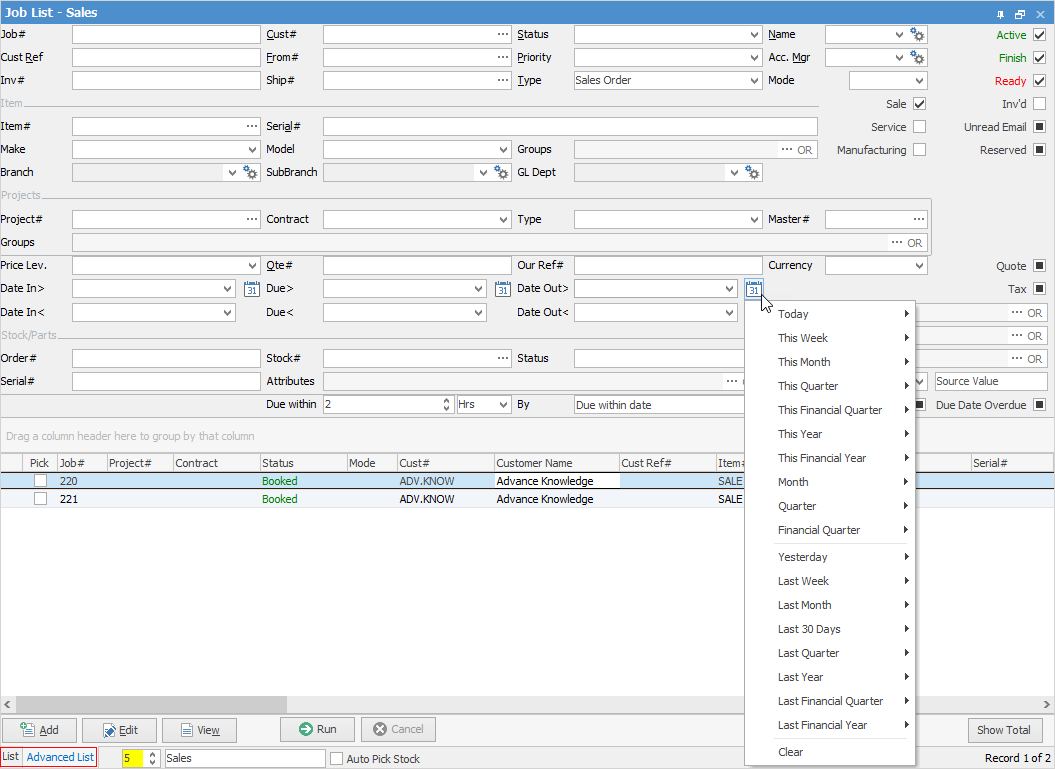
3.When using the Job List, Jim2 provides the ability to search including or excluding the criteria entered in the job form fields. For example: search for all jobs except those to a specific customer. To exclude that customer, enter their Cust#, then double click on the word Cust# beside the field. The field will show in a shade of green, indicating that customer will be excluded from the search.

4.On the right-hand side of the Groups selection within the list is the wording ... OR. If selected it will change to &. This relates to how to use groups within the search. To select two groups and find things that are in both groups, use the & option. To search two groups and find anything that is in either one of those groups use the OR option. Double clicking on the word Groups at the beginning of the Groups field will turn the field green to indicate that group selection is inverted (excluded).

5.The date selection fields have a number of pre-defined selections available, as seen in the Advanced List image above.
6.If Branches, Sub-Branches and/or GL Departments are enabled as set up in the General Options tab, all these fields will be displayed, but only those actually being used will be accessible. If none of these are being used or only GL Departments in cheques and general journals is used, none of these fields will be displayed.
7.Once search criteria has been chosen, select Run and the list will populate with the search results.
8.Make the list live within Jim2, so that any new jobs or updated information that relates to the list can be constantly updated as other users in Jim2 edit or add jobs. To make the Job List live, enter the number of minutes between updates in the bottom left corner of the Job List, pin the list and run the list again. Once set, this field will keep updating during the day every set number of minutes.
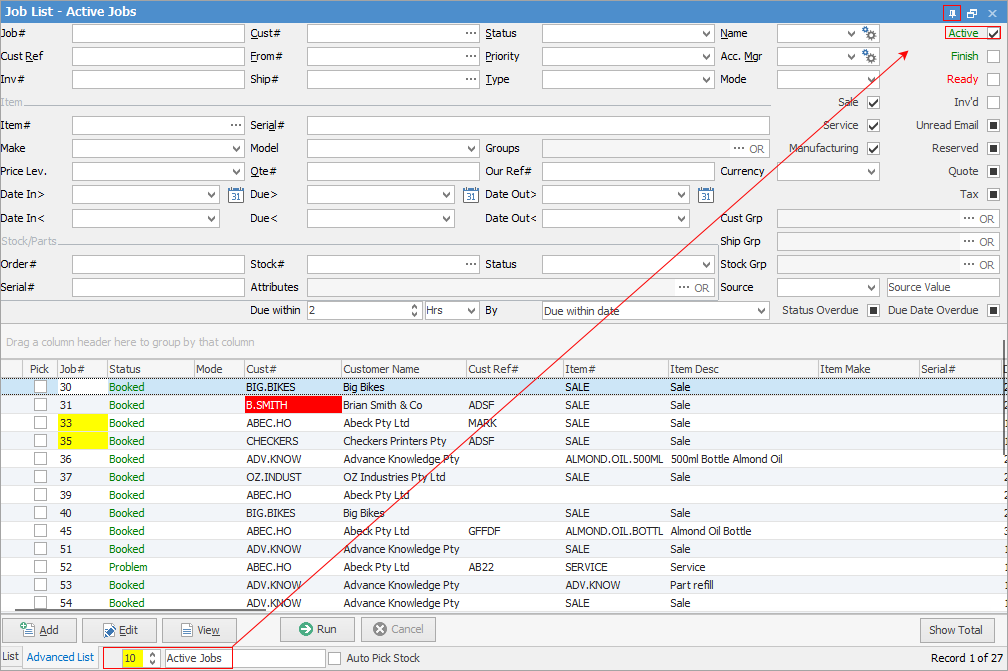
The Reset button at the bottom will reset the pinned list back to original if you make changes to the filters. Click Reset, then Run.
9.Show Total (bottom right of screen as in the image above) will display the total value of all the jobs in the list.
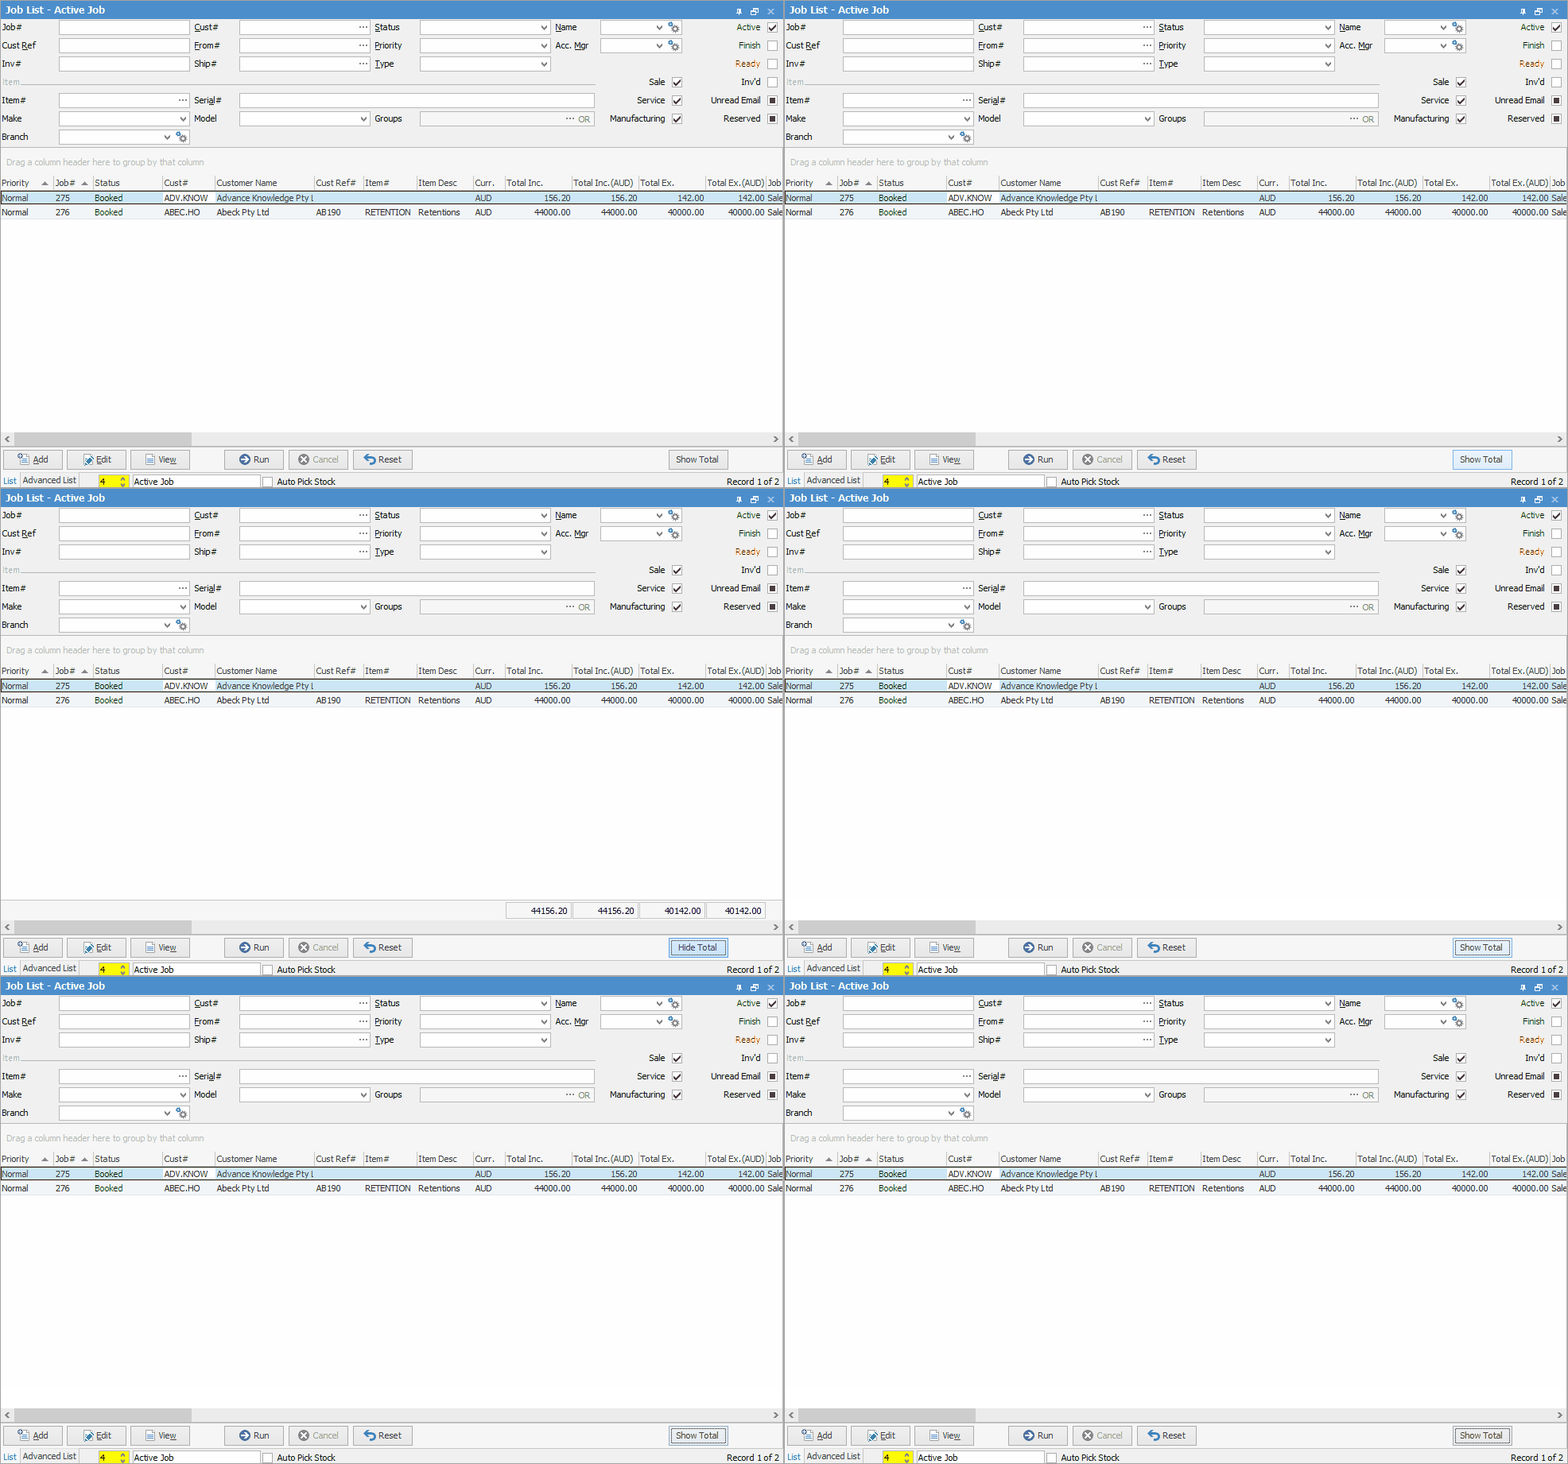
10.Name Job Lists so that they represent what is being searched for – this helps the user if they have multiple lists running at the same time.
Jim2's intuitive type functionality allows running a quick search through a list. Search through fields within the list by selecting any cell within the relevant column and beginning to type the search text, eg. the Cust# or Item#. If the column contains a record that matches or partially matches the text being entered, the focus will shift to the matching cell. When the first record is located, continue searching. To search forward and backward, use the Ctrl+Down Arrow and Ctrl+Up Arrow keys respectively.
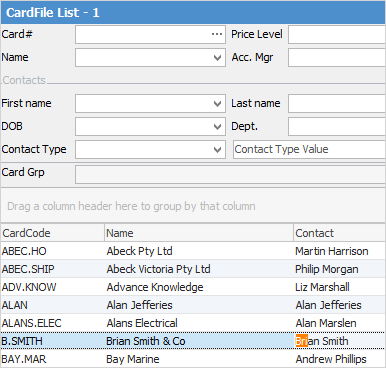
Right click within the list grid and select Show Find Panel to enter text to search all fields.
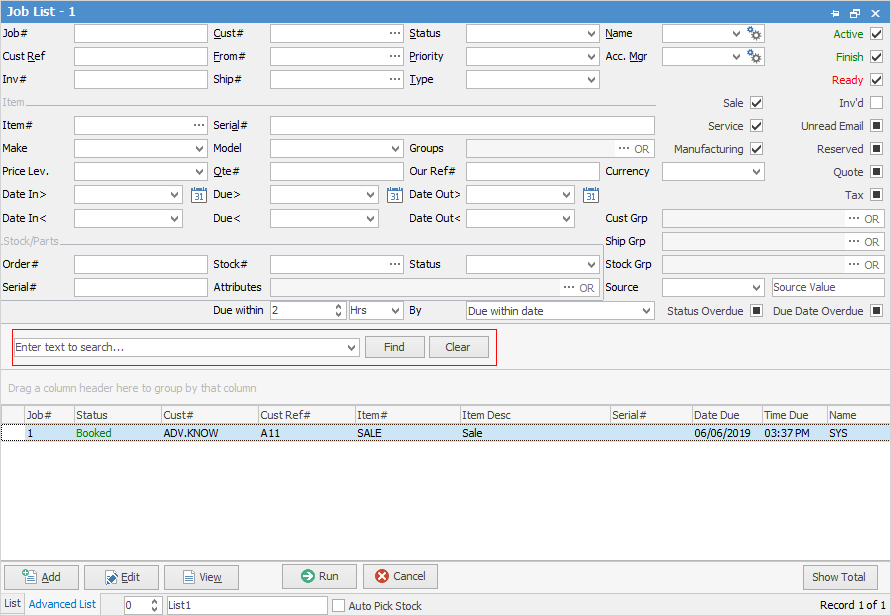
Drag a column header to group the results by column content, and move the columns around to suit. Pin the list and the sorting order will be saved. The list will only need to be run when initially logging on to Jim2.

 |
To run a list of jobs that have been invoiced, this should be done from the Sales Register instead. |
Further information
Add Stock to Job When Insufficient Stock
Auto Create Purchase Orders from Jobs
Charge Customer a Re-stocking Fee
Create a Job from a Similar or Previous Job
Create a Template for Recurring Jobs
Credit an Overcharged Customer
Export a Job Report to Spreadsheet
Export Labour Hours from a Job
Make Progress Payments and Claims
Select Serial Numbers on a Job
Stock Availability Allocation Process by List
Stock Availability by Location on the Fly