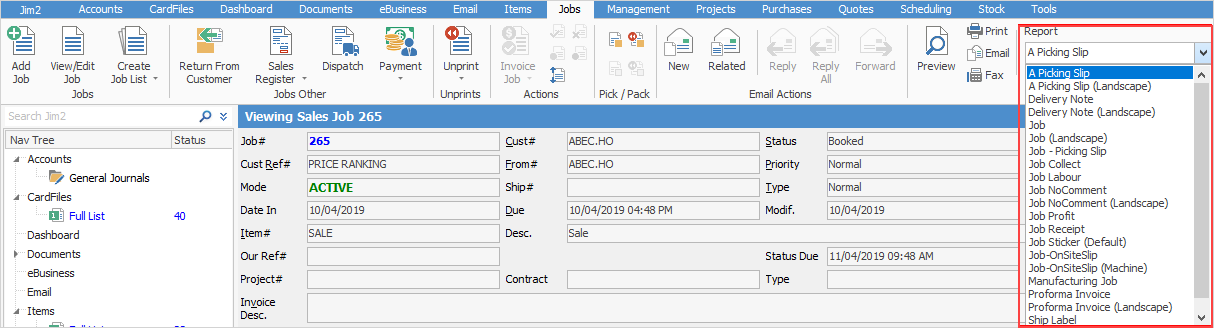
Once a job is created, it can be faxed, printed or emailed using any of the available job reports from the Report menu on the ribbon.
Open the job, go to the Report drop down list and choose which job report style to use for the list.
|
Jim2 is supplied with standard job reports suited to most businesses. Other job reports can also be designed via Jim2 Report Designer. |
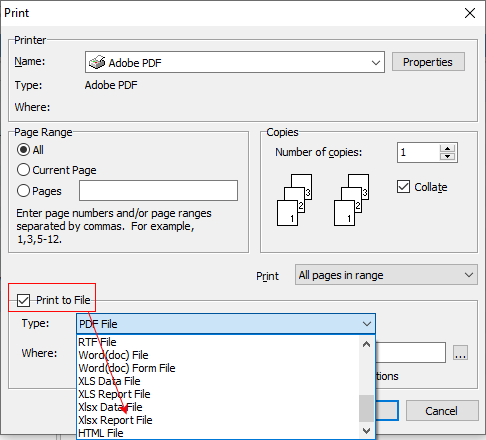
Once job report has been chosen, select the print option to use – Email, Fax (if available), or Preview. From within the Preview and Print screens it is also possible to save the report as a file.
|
The job report will now be printed. A standard Windows print option screen will appear, showing the print default device set for the workstation (as defined in Jim2 Options), and any other print option available. An alternate print option can be made by choosing from that list, including print to file. |
Further information
Add Stock to Job When Insufficient Stock
Auto Create Purchase Orders from Jobs
Charge Customer a Re-stocking Fee
Create a Job from a Similar or Previous Job
Create a Template for Recurring Jobs
Credit an Overcharged Customer
Export a Job Report to Spreadsheet
Export Labour Hours from a Job
Make Progress Payments and Claims
Select Serial Numbers on a Job
Stock Availability Allocation Process by List
Stock Availability by Location on the Fly